SDB:LAMP 设置
在 openSUSE 上测试
推荐文章
- 一个可用的 Apache2 Web 服务器;
- 一个配置好的 MariaDB 数据库服务器;
- PHP7(或 PHP5)与 Apache 配合使用;以及最后
- phpMyAdmin 以及一个配置好的 pmadb 数据库。
本文已更新,以反映当前受支持的 openSUSE Leap 和 Tumbleweed 中的安装情况。但是,它与 openSUSE 的较低版本没有太大差异。
获取 root 权限
要获取 root 权限,请打开终端并输入以下命令
su -Password:
输入有效的密码后,提示符应变为红色并以 # 结尾。
Apache
Web 服务器设置和配置。
安装 Apache2
首先,请确保您具有 root 权限并输入以下命令
zypper in apache2
启动 Apache2
要启动 apache 服务器,请输入以下命令
systemctl start apache2
systemctl restart apache2
或者如果您想停止它
systemctl stop apache2
要在重新启动后自动启动 apache 服务器
systemctl enable apache2
测试安装
要检查您的 apache 服务器是否正常工作,请使用您最喜欢的文本编辑器“以 root 身份”在 /srv/www/htdocs/ 文件夹中创建一个 index.html 文件,内容如下
<html><body><h1>Welcome to my web site!</h1></body></html>
现在将您最喜欢的 Web 浏览器指向:'localhost'。您应该看到一个标题为 欢迎来到我的网站! 的页面。
如果收到错误,请确保您使用“http”而不是“https”加载页面。
启用对 Web 服务器的公共访问
在这种状态下,Web 服务器只能作为 localhost 访问。如果您想从远程主机访问它,则必须在防火墙中打开端口 http(=80)。SuSE 发行版上有两种常见的防火墙,SuSEfirewall2 和 Firewalld,它们在下面的单独部分中进行处理。
SuSEfirewall2
为此,编辑 /etc/sysconfig/SuSEfirewall2 文件并将该行更改为
FW_CONFIGURATION_EXT=""
为
FW_CONFIGURATION_EXT="apache2"
编辑后,您必须使用以下命令重启防火墙
systemctl restart SuSEfirewall2
Firewalld
以 root 身份执行此操作。请注意,这假定您配置的区域为 public。将 public 替换为您选择的区域。
firewall-cmd --zone=public --add-port=80/tcp --permanent
添加防火墙规则后,重新加载防火墙服务。
firewall-cmd --reload
YaST2
或者,您可以通过图形用户界面通过 YaST
- 打开 YaST 控制中心
yast
- 选择 防火墙
- 修改的配置默认在运行时下。您所做的任何更改仅影响机器的当前运行时
- 请注意网络正在运行的区域,并确保在区域选项卡下选择了当前区域。
- 在服务选项卡中,在窗口中找到 apache2。
- 如果您想使此更改在所选区域下永久生效,请选择“选项”>“运行时到永久”。
- 如果不需要对防火墙进行进一步更改,请关闭配置窗口,更改将立即生效。
设置 PHP
安装 PHP7
确保您具有 root 权限 — 请参见上方。使用以下命令安装 php7
zypper in php7 php7-cli php7-mysql apache2-mod_php7
不要忘记通过执行以下命令启用 mod-php
a2enmod php7
此外,请确保在 `/etc/apache2/mod_mime-defaults.conf` 中有一行
AddType application/x-httpd-php .php
这使得 apache 将以正确的 mime 类型(即作为 php 源代码)处理以 `.php` 结尾的文件。
完成了,php7 已安装。
为了确保,通过执行以下命令进行检查
php -v
它应该返回版本
安装 PHP5
如果您想安装 PHP5,则步骤与使用 'php5' 代替 'php7' 相同
zypper in php5 php5-mysql apache2-mod_php5
a2enmod php5
在 `/etc/apache2/mod_mime-defaults.conf` 中需要添加一行
AddType application/x-httpd-php .php
php -v
以检查安装是否正确。
请注意,您需要选择安装 php7 或 php5。您不能同时安装两者。
重启 Web 服务器
现在您已经安装了 php,您必须重启 apache2 Web 服务器
systemctl restart apache2
测试安装
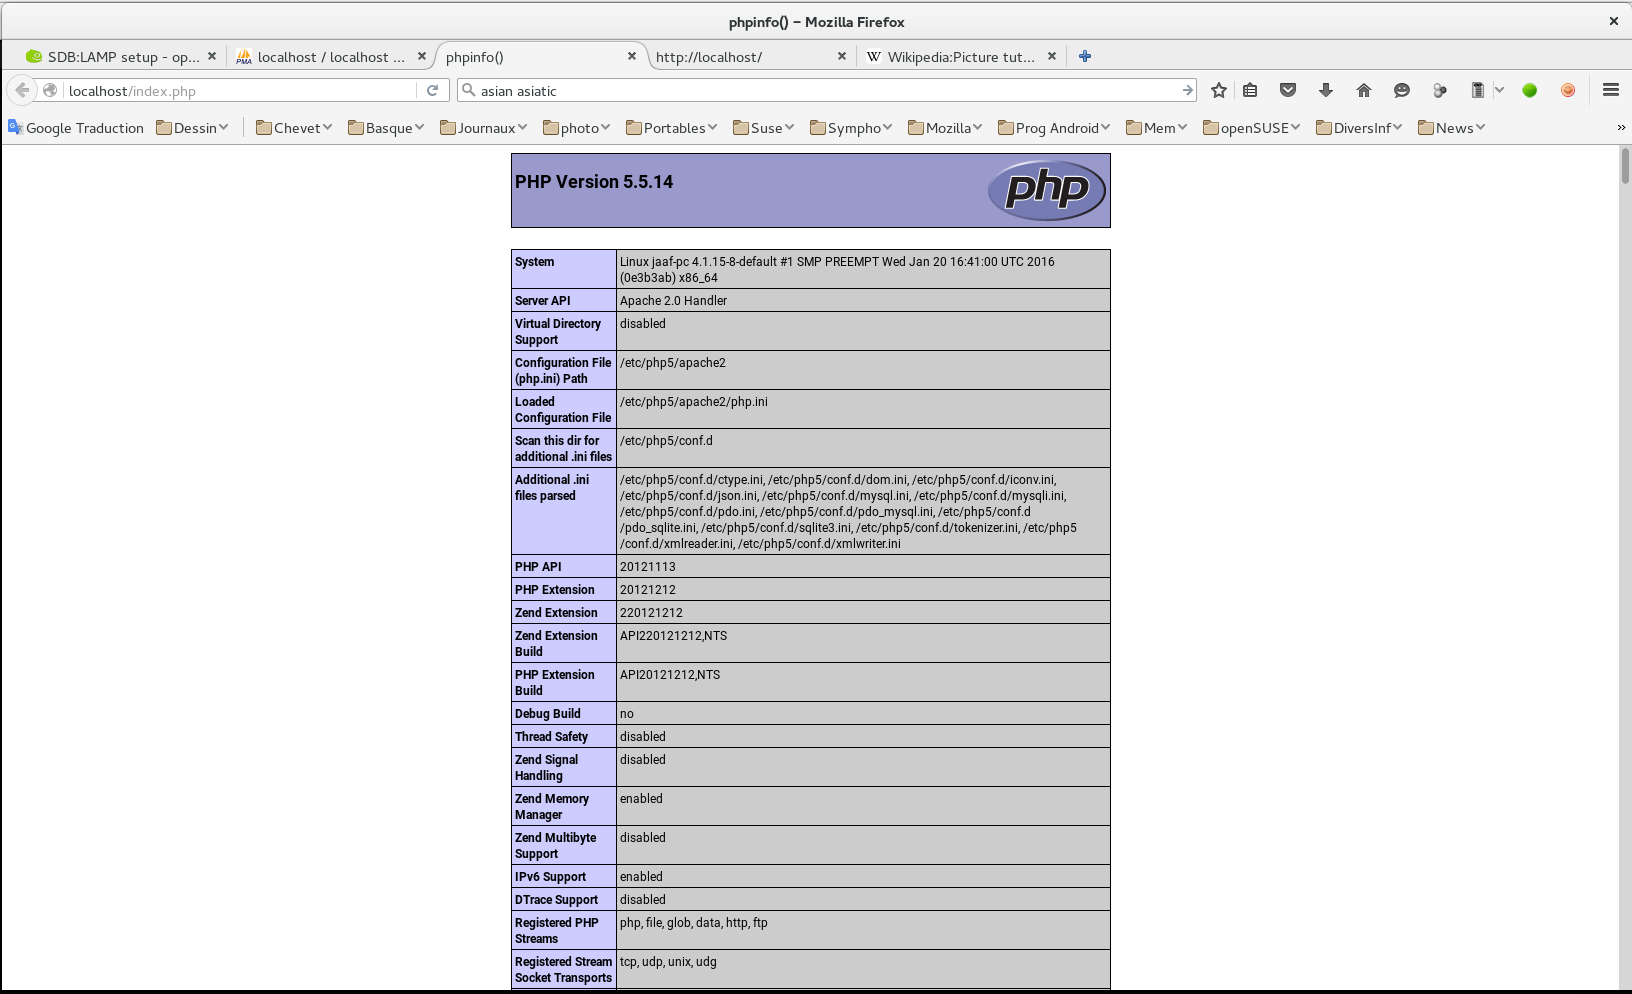
要验证 php 是否正常工作,请在 `/srv/www/htdocs/` 文件夹中创建一个名为 `index.php` 的文件,内容如下
 <?php
 phpinfo();
 ?>
现在,将您的浏览器指向 'localhost/index.php'。您应该看到一个包含所有 php 设置的表格的页面。
设置 MariaDB
有关文档,请参见 https://mariadb.org.cn/documentation/#entry-header。
安装 MariaDB
确保您具有 root 权限 — 请参见上方。我们需要安装 mariadb 和 mariadb-tools
zypper in mariadb mariadb-tools
启动 MariaDB 服务器
要启动 MariaDB 服务器,请执行
systemctl start mysql
cat /var/log/messages|less
确保服务器在每次启动时都启动
systemctl enable mysql
systemctl restart mysql
或者如果您想停止它
systemctl stop mysql
配置 MariaDB/MySql 服务器
为了配置具有改进安全性的 MariaDB 服务器,请使用 openSUSE 提供的脚本 'mysql_secure_installation。以下是完整过程的描述。
mysql_secure_installationNOTE: RUNNING ALL PARTS OF THIS SCRIPT IS RECOMMENDED FOR ALL MariaDB SERVERS IN PRODUCTION USE! PLEASE READ EACH STEP CAREFULLY! In order to log into MariaDB to secure it, we'll need the current password for the root user. If you've just installed MariaDB, and you haven't set the root password yet, the password will be blank, so you should just press enter here. Enter current password for root (enter for none):
只需在此处按 Enter 键。
OK, successfully used password, moving on...
Setting the root password ensures that nobody can log into the MariaDB
root user without the proper authorisation.
Set root password? [Y/n] y
在此处输入 y。
New password:
现在输入 root 密码。 (MariaDb 似乎拒绝密码中的特殊字符。如果您使用密码生成器,请将其限制为字母数字字符)
Re-enter new password:
输入密码确认信息。
Password updated successfully!
Reloading privilege tables..
... Success!
By default, a MariaDB installation has an anonymous user, allowing anyone
to log into MariaDB without having to have a user account created for
them.  This is intended only for testing, and to make the installation
go a bit smoother.  You should remove them before moving into a
production environment.
Remove anonymous users? [Y/n]
回答 y 以删除匿名用户。
... Success!
Normally, root should only be allowed to connect from 'localhost'.  This
ensures that someone cannot guess at the root password from the network.
Disallow root login remotely? [Y/n]
现在回答 y。
... Success!
By default, MariaDB comes with a database named 'test' that anyone can
access.  This is also intended only for testing, and should be removed
before moving into a production environment.
Remove test database and access to it? [Y/n]
回答 y。
- Dropping test database...
... Success!
- Removing privileges on test database...
... Success!
Reloading the privilege tables will ensure that all changes made so far
will take effect immediately.
Reload privilege tables now? [Y/n]
回答 y。
... Success!
Cleaning up...
All done!  If you've completed all of the above steps, your MariaDB
installation should now be secure.
Thanks for using MariaDB!
针对旧版本中的内存
将
mysqladmin -u root password '<NEW PASSWORD>'Password:
输入当前密码或仅按 Enter 键(如果从未定义过)。
登录客户端
现在您可以登录到服务器客户端,方法是执行
mysql -u root -pEnter password:
然后输入您的密码。
Welcome to the MariaDB monitor.  Commands end with ; or \g.
Your MariaDB connection id is 154
Server version: 10.0.22-MariaDB openSUSE package

Copyright (c) 2000, 2015, Oracle, MariaDB Corporation Ab and others.

Type 'help;' or '\h' for help. Type '\c' to clear the current input statement.
MariaDB [(none)]>
要返回终端,请执行
安装 phpMyAdmin
什么是 phpMyAdmin?
phpMyAdmin — 又名 pma — 是一个用 php 编写的工具,用于从 Web 界面管理您的数据库。
安装 phpMyAdmin
要安装 phpMyAdmin,请执行
zypper in phpMyAdmin这还会安装许多必要的 php 模块并重启 apache2 服务器。
为 phpMyAdmin 定义管理员用户
从 mysql 5.7 和 mariadb 10.4 开始,无法使用默认身份验证方法使用 'root' 登录。一种解决方案是为 phpMyAdmin 创建一个新的管理员用户。为此,请按照以下步骤操作。
登录 mariadb
mysql -p -u root
通过以下方式创建用户
或更明确地使用
通过以下方式授予权限
要检查结果,请键入
这将生成一个包含用户和密码的表。请注意,`pmaUser` 的密码已加密。
登录 phpMyAdmin
要登录 phpMyAdmin
- 导航到 localhost/phpMyAdmin 或 ip_address/phpMyAdmin
- 输入 mysql 服务器的 root 用户名和 root 密码
- 单击“转到”按钮
检查 phpMyAdmin
现在将您的浏览器指向 https:///phpMyAdmin/ 或 http://ip_address/phpMyAdmin/ 并输入 mysql root 用户名及其密码。在较新版本的 mariadb 或 mysql 中,root 不再可用,您必须使用上面描述的特殊用户 `pmaUser`。
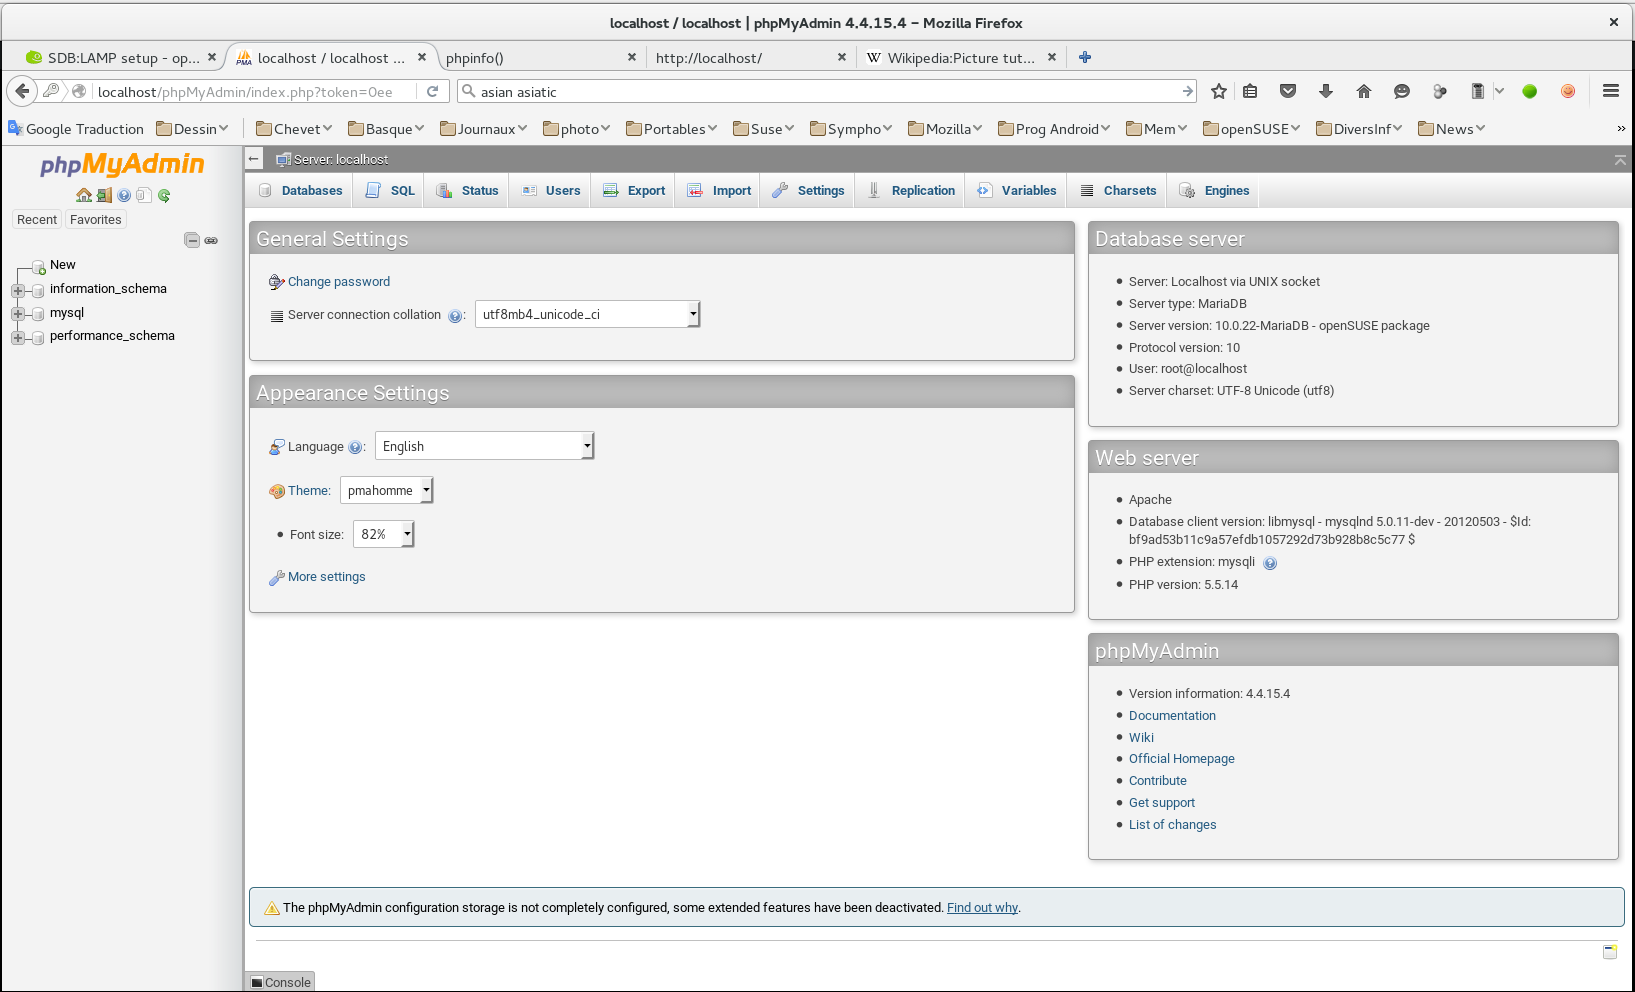
就是这样!现在您可以从 Web 界面管理您的数据库。注销图标是 `phpMyAdmin` 标题后的第二个小图标。
您可以在 phpMyAdmin 网站 上阅读文档。
您现在应该有一个可用的 LAMP 服务器!